I had ten times as many things as I needed, especially since I had three packets of different pumpkin seeds, corn, green beans, and all kinds of flower seeds from last year. I mean, seeds are literally a little packet of potential, and $3 a packet seems a small price to pay to hold a little potential hope in your hand...except of course those packets add up...
 |
| That'll be $947. |
 Lettuce: It's so damn cool. Basically as soon as the weather warms up too much or the lettuce is done growing, it goes to seed with these little obelisks. To protect itself while its putting its energy into seeding, the plant emits a bitter chemical into the leaves making them taste, you guessed it, super bitter. The lettuce that was a normal looking head will sprout up two or three feet into these tall towers and at the very top are some little yellow flowers.
Seeds: the yellow flowers on any kind of lettuce need to be pollinated and the seeds inside need to dry; so although there are seeds inside the flower heads almost as soon as they emerge, they are ready to be harvested when the yellow flowers turn into a fluffy white chaff like a dandelion that's gone to seed. It's the perfect little package, so super elegant--yellow flowers particularly attract bees; then, left to its own devices, the flower pod would dry and float on the wind using the white chaff, spreading the seeds in all directions so as not to compete with each other. Once the white fluff has appeared you can pop off the heads carefully and roll them between your fingers to find 15-20 seeds.
That's right. A packet of lettuce seeds--in this case an Heirloom type that I paid $3.25 for--has maybe 100 seeds. Just one of those seeds can turn into a tower like you see below, with hundreds of flower heads on it once it goes to seed, and come out with thousands of individual seeds.
Tomatoes:You'd think, since tomatoes are a fruit with very visible seeds, harvesting them would be a piece of cake, but most sources say that fermenting tomato seeds is the best way to separate out highest quality and most viable seeds from an individual fruit. It also makes a lot of sense. Hopefully you've chosen the reddest and most juicy fruit, or maybe the biggest fruit; in any case, the one you want to eat--so presumably you want more fruits just like that one.
Seeds: the nice thing is that you can save tomato seeds right from a fruit that you're eating. Heirloom tomatoes or Romas (technically not considered an heirloom, but an open pollinated variety) can be cut in half and the seeds and the gel they're suspended in squeezed out into a shallow dish or cup. This worked really well for me when I was drying the roma tomatoes for sun dried tomatoes. Add 1/4 cup of water to cover and leave the mixture for a few days. A scummy layer will form (perfectly okay) as the seeds separate from the goo; the good seeds will sink to the bottom, the unripe or unviable seeds will stay in the scum at the top. This also helps separate out seeds that might carry disease or fungus. After the seeds are completely separated you can take a spoon to lift out the scum and add more fresh water if more gel remains. After a week the good seeds are easy to see. Drain and dry on a paper towel, then store in a dry place.
Green Beans: Seems easy since you open up a green bean and there is literally a pod of bean seeds just sitting there. Except if you've ever tried to plant a green bean while its still green? You know there's a little more to it.
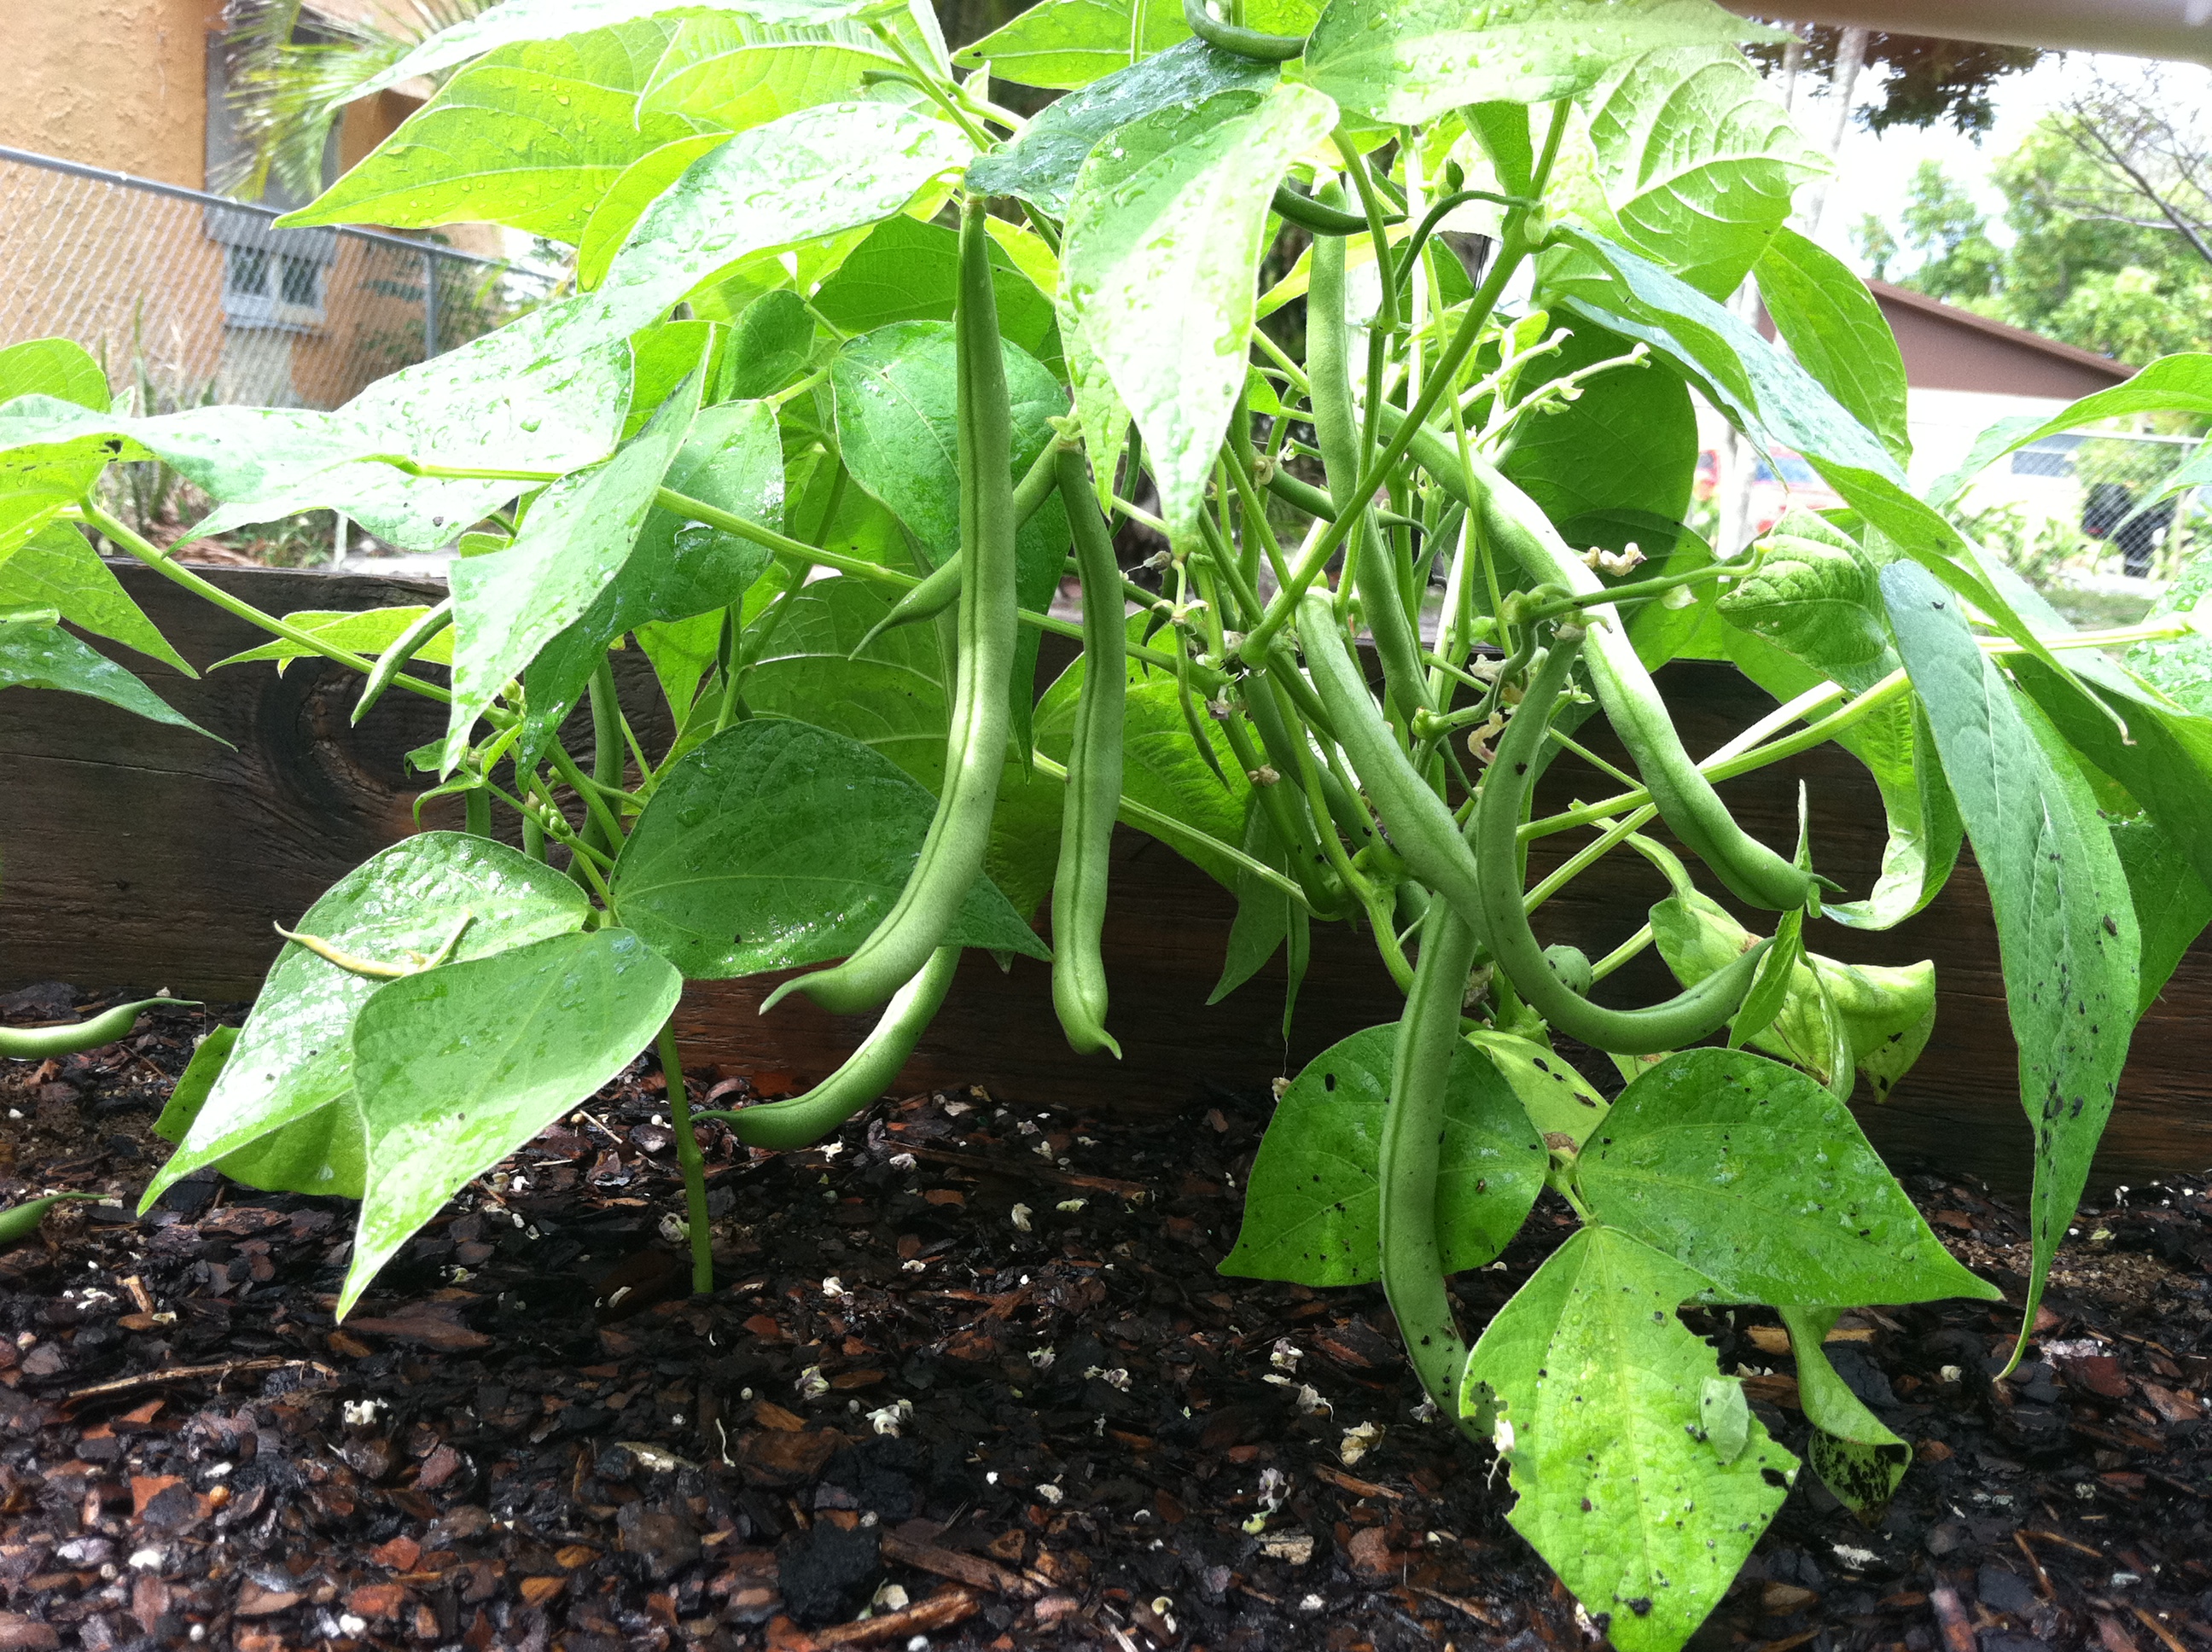
Seeds: At the end of the harvest season, leave the biggest healthiest plant with all its beans. It'll take between a month and six weeks for the beans to wither and shrivel into pale tan seed pods that you can easily snap open and shell. Inside, the once green bean seeds have hardened and turned a deep purple brown much easier to store.
Sunflowers: Another plant that seems obvious but which actually takes much longer to get to harvest than I expected. The heads have to completely fade; then the pollen dries and turns into a brown fluff that you can brush aside with your finger. The seeds will turn from white to striped black and white to completely black.

Seeds: Once the seeds are totally black, just take a bowl to catch the seeds and run your thumb over the seed heads. The seeds should just fall easily from the head (if not, leave the flower to dry longer). A good rule of thumb is if the back of the head is brown and dry the seeds are loose enough to harvest. If you don't like the look of dead sunflowers hanging around, you can cut off the top 12" of the stem with the head attached and hang the stems to dry upside down with paper bags tied around the heads to catch any seeds that fall prematurely.
Of course you can always roast these seeds with salt and eat them instead of replanting!
Over the course of my season of seed saving this year, from each planting that I started from a seed packet, I got an exponential return. I'd estimate that from this season alone I saved enough of everything I planted to seed three or four whole beds of the same with plenty left over to give away packets of the same seeds to everyone in the neighborhood. Not only am I going to save at least $100 in seed for next year, I can actually expand my garden by two or three times with no extra cost at all.
No comments:
Post a Comment